How to Blow Dry Hair Without Frizz & Damage: A Strategic Drying and Styling Approach
Updated on
This post may contain affiliate links. As an Amazon Associate, we may earn from qualifying purchases.
Mastering blow drying is akin to conducting a symphony of heat and airflow.
A handheld hair dryer’s primary function is to rapidly evaporate moisture from the hair while crafting volume, shape, and smoothness with every stroke of air. It is a hairstyling tool designed to make blow drying (simultaneous drying and styling) convenient and easy, sealing in the perfect hairstyle in minutes.
However, achieving the perfect hairstyle can be elusive for some.
The main reason?
The lack of understanding of heat and airflow’s impact on hair, and insufficient technique and preparation.
In this guide, I will show you step-by-step, the best practices to effectively use your hair dryer.
I will show you how to master the delicate balance of temperature and technique, ensuring that your hair doesn’t get fried, frizzy, or end up damaged in the long run.
Let’s dive in.
This post contains affiliate links. As an Amazon Associate, we may earn from qualifying purchases.
1. Apply Heat Protectant
Heat protectant provides thermal protection to the hair to minimize heat damage. Available as sprays, serums, lotions, creams, and oils, it should be evenly applied before using hair dryers, straighteners, and curling irons.
Applying heat directly to unprotected hair can quickly strip its natural oils and moisture. The rapid dehydration is the main culprit for frizz. A heat protectant locks in moisture and safeguards the hair cuticle from becoming dry and brittle.
I’ve noticed significant improvements in my hair when using heat protectants compared to when I didn’t.
Products containing silicone and fatty acids can reduce hair protein damage by 10-20% during heat styling, as found in a 1998 study by McMullen and Jachowicz in the Journal of Cosmetic Science.
So, make sure you don’t skip this step.
Nexxus Smooth & Full Blow Dry Balm
Briogeo Farewell Frizz Blow Dry Cream
2. Use Low Temperature Settings
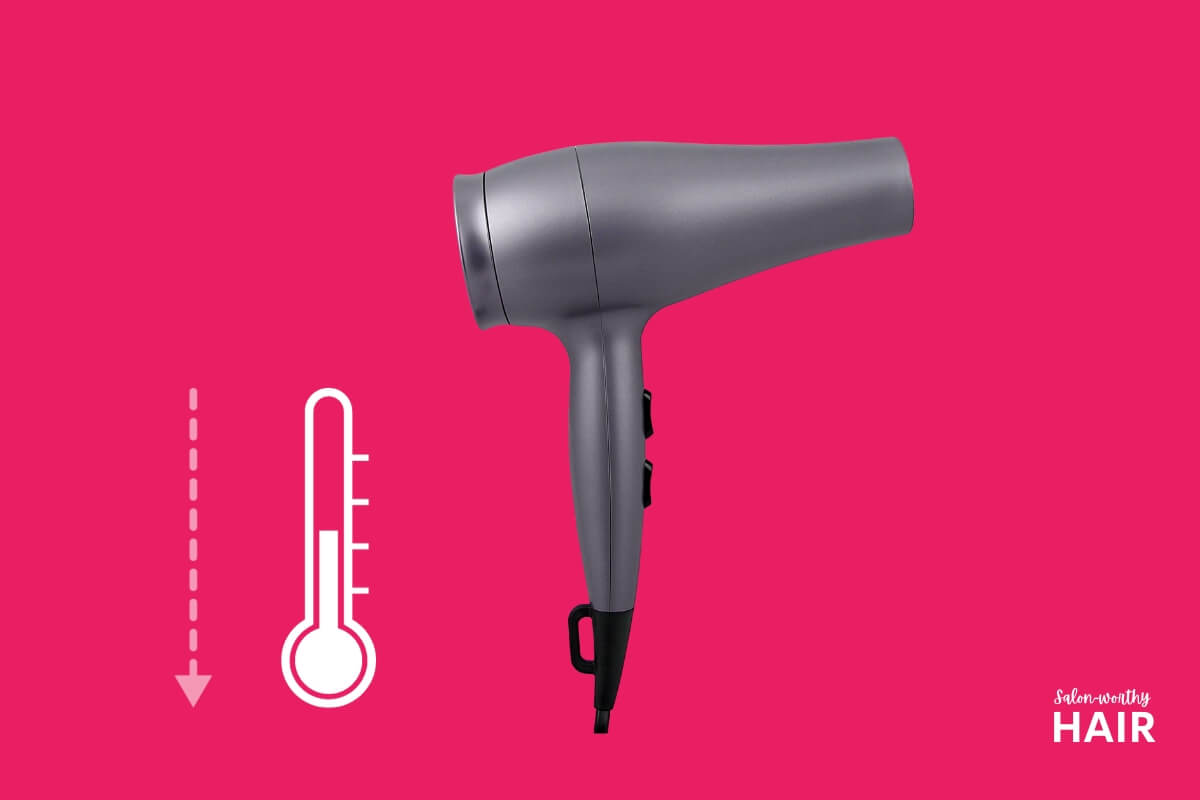
Using low temperature when blow drying reduces frizz, as low heat helps to dry the hair gently while preserving its inherent moisture.
Hair, primarily composed of keratin, is sensitive to high temperatures. High heat can dehydrate the hair, leading to frizz.
Variable heat options on blow dryers are useful for this reason. Drying at low temperature minimizes heat damage while effectively drying your hair, balancing moisture removal and retention.
If finding the right temperature setting is challenging, consider a sensor-based hair dryer like the Dyson Supersonic. Its intelligent sensors adjust the heat to prevent overheating and damage.
3. Adjust Airflow Speed
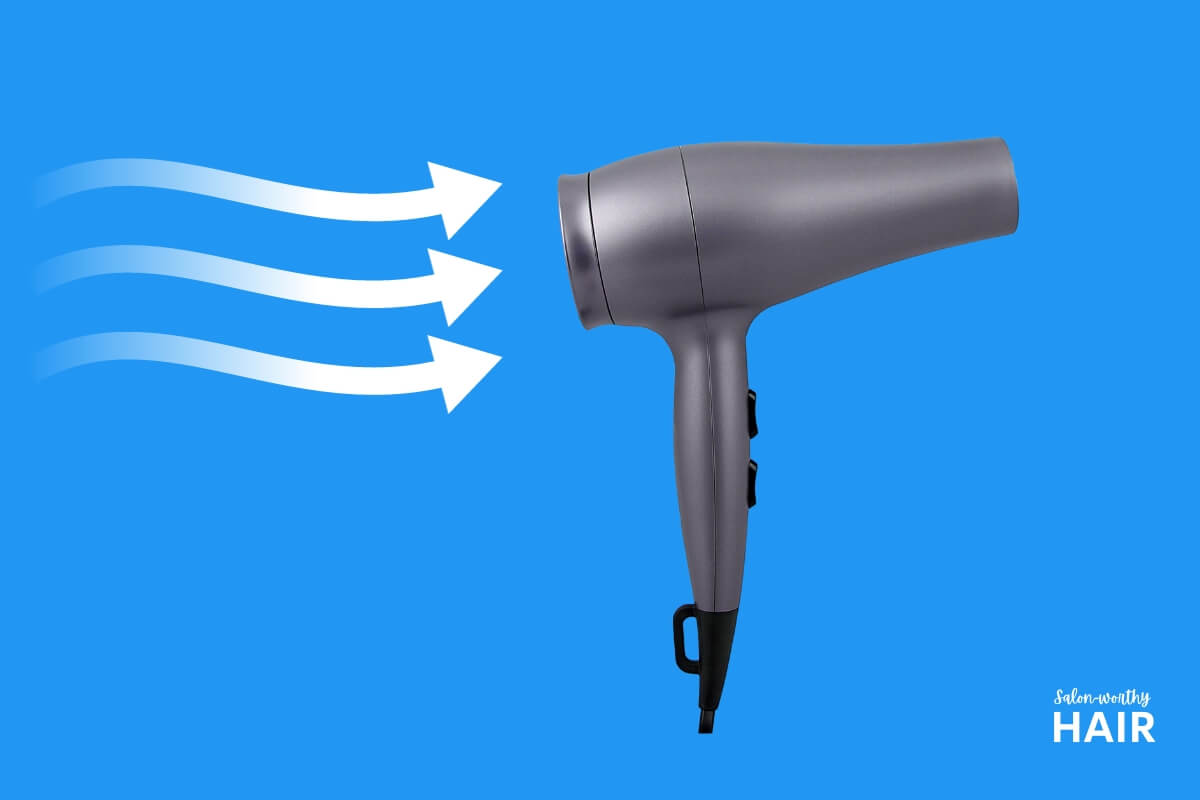
Adjusting the airflow speed before blow drying is crucial, especially when dealing with frizzy hair. Airflow intensity can disrupt the hair’s cuticles on the outermost part of the hair shaft. When the cuticle layer is smooth, hair appears shiny and sleek; however, rough handling can raise these cuticles, leading to frizz.
High-speed airflow can be aggressive, causing turbulence in the hair strands that roughens the cuticle and exacerbates frizz. Opting for a lower speed allows a gentler airflow, helping to align the hair cuticles smoothly and reducing frizz.
While heat is essential, the speed at which heated air hits your hair is equally vital in the final outcome. A lower airflow setting gives you control to methodically work through sections of your hair, ensuring each strand is adequately dried without being subjected to excessive force.
Moreover, when using a lower speed, you can move the dryer steadily and evenly, avoiding repeatedly going over the same section.
4. Maintain 15 CM Distance
Use your hair dryer at a distance of 15 cm with continuous motion.
A study found that maintaining a 15 cm distance causes less damage than closer distances when drying hair for 60 seconds.
The study also emphasizes keeping the hair dryer moving continuously.
Many people mistakenly keep their hair dryer fixed on one spot until the hair dries, but this can damage your hair. Concentrating the dryer for too long in certain areas can overheat the hair, making that particular section prone to frizz.
5. Use a Diffuser Attachment
A diffuser attachment distributes airflow evenly from the hair dryer.
It minimizes the intensity of direct heat on your hair.
By spreading out the air, the diffuser helps maintain the hair’s natural hydration, a key factor in keeping frizz at bay.
Diffuser attachments typically have a bowl-like shape with prongs or fingers. When attached to a hair dryer, they disperse the airflow more evenly, reducing frizz and enhancing natural curls or waves. Diffusers offer a gentler drying experience that’s less damaging and particularly beneficial for curly or delicate hair types.
A diffuser attachment works with the dryer’s settings but modifies how air is delivered to the hair. Some advanced diffusers use ionic technology to reduce static and smooth hair. Others may include aromatherapy capabilities, diffusing essential oils for a spa-like experience during hair drying.

6. Use a Concentrator Nozzle for Precise Styling
Incorporating a concentrator nozzle into your blow-drying routine can minimize frizz by reducing the chances of overheating any particular area of your hair. Less overheating is particularly helpful for targeted drying and styling of specific hair sections.
Overheated hair tends to become more frizzy, as excessive heat can lift the hair’s cuticles, leading to a rough texture. By ensuring a balanced application of heat, the nozzle aids in maintaining the hair’s smoothness and natural moisture balance.
A concentrator nozzle focuses airflow into a narrow stream for precise styling, directing heat to specific hair sections, unlike diffusers which disperse air.
Concentrator nozzles are typically elongated with a narrow opening, attaching to the hair dryer via a clip or slide mechanism.
The streamlined airflow aligns the hair cuticles, promoting a sleek, smooth finish crucial for reducing frizz.
Professional Salon Hair Dryer Nozzle

7. Embrace Moisture-Retaining Techniques
Moisture-retaining techniques are useful for preventing hair dryers from dehydrating the hair.
Here are a few examples of moisture-retaining techniques:
- Pre-Blow Dry Treatments: Applying a leave-in conditioner or a hair serum before blow drying can help retain moisture.
- Using Microfiber Towels: Gently drying your hair with a microfiber towel before blow drying can reduce frizz, as these towels are less harsh than traditional towels.
- Cool Water Rinsing: Rinsing hair with cool water before blow drying helps close the cuticles, trapping moisture inside.
- Regular Deep Conditioning: Incorporating a deep conditioning treatment into your weekly hair care routine can improve moisture retention.
8. Section Your Hair Beforehand
Sectioning your hair allows for more control and even drying.
When you blow dry without sectioning, you’re more likely to miss spots, leading to uneven moisture levels in your hair. This inconsistency is a prime cause of frizz, as some parts of your hair get over-dried while others remain damp.
Dividing the hair into sections helps target specific areas with the right heat and airflow.
It’s not just about drying your hair; it’s about doing so in a way that maintains its health and natural moisture balance. Overexposure to heat in certain areas can cause damage and increase frizziness. Sectioning ensures each part gets just enough heat, reducing the risk of heat damage and subsequent frizz.
To section your hair easily and effectively before blow drying, consider using the following tools:
- Butterfly Clips: These accessories can hold large sections of hair out of the way while focusing on one section at a time. They’re strong enough to hold thick hair but gentle enough not to leave any marks or creases.
- Tail Comb: A tail comb is essential for creating precise and clean sections. The fine tip of the tail is perfect for parting the hair accurately, which is useful for those with thick or curly hair, where sectioning can be more challenging.
- Sectioning Clips: These are similar to butterfly clips but are often slimmer and have a stronger grip. They are ideal for those with finer hair or for creating smaller, more precise sections.
- Detangling Brush: Ensuring your hair is tangle-free before you begin sectioning is crucial. A good detangling brush can smoothly glide through your hair, minimizing breakage and making the sectioning process much easier.
- Heat-Resistant Comb: A heat-resistant comb can help guide the hair and keep it taut when blow drying to ensure even drying and a smoother finish.
9. Dry Your Hair in the Direction That It Grows
Drying hair in its natural growth direction aligns the cuticles flat and smooth.
Blow drying against the growth pattern forces the hair in an unnatural direction, increasing the risk of lifting the hair’s cuticle scales, particularly in fragile or damaged hair.
Frizzy hair, often caused by lifted cuticles, benefits from drying the hair in its natural growth direction as it minimizes cuticle upheaval and helps lock in moisture, thus reducing frizz.
10. Keep the Hair Dryer Moving
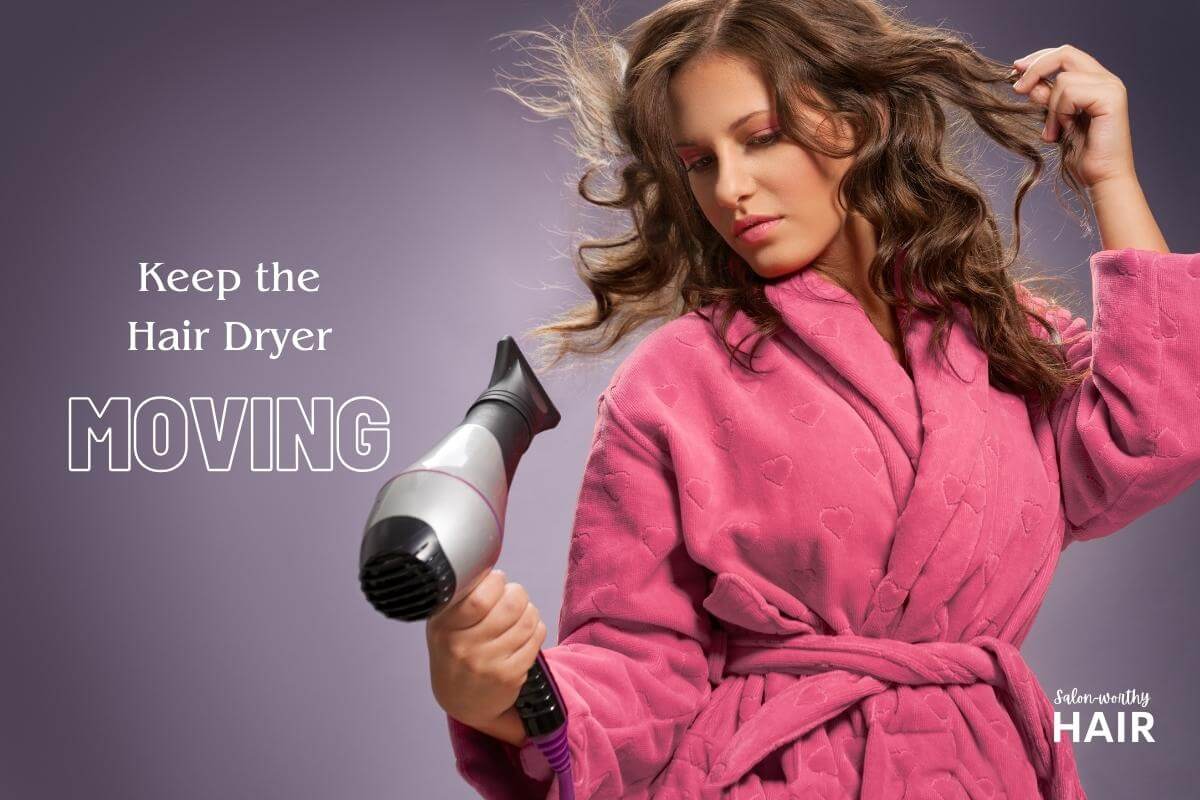
Maintaining consistent movement when blow drying prevents excessive heat from concentrating on any single section of your hair. When the dryer is held too long in one spot, it can cause uneven drying and frizz in certain spots.
Moving the dryer continuously ensures a uniform distribution of heat.
Consistent movement aids in even moisture evaporation, ensuring no part of your hair becomes overly dry or damp. Both extremes can be problematic: overly dry hair becomes brittle and prone to frizz, while damp hair can lead to a limp and lifeless appearance.
The consistent movement technique enhances the effectiveness of hair products used during styling. Many products, activated or better absorbed by heat, benefit from consistent movement, ensuring even distribution for a smoother finish.
11. Use the Cool Shot Button
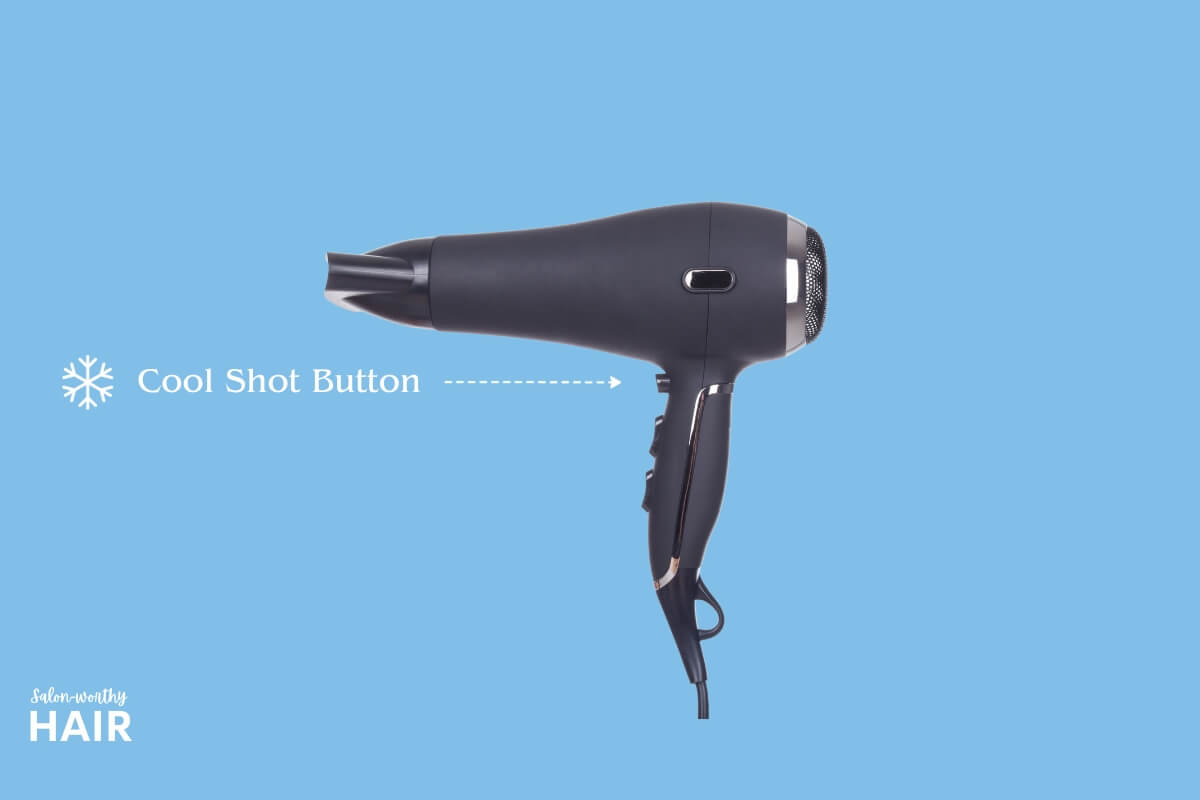
If your hair dryer has a cool shot button, use it after you’ve dried your hair. The cool shot button provides a burst of cold air, contrasting with the hot air flow of the dryer. The cool air helps to set the hairstyle in place.
Using the cool shot at the end of your blow-drying session helps to seal the cuticles that were opened by the heat, ensuring your hair remains smooth and less prone to frizz.
Cool shot is ideal for individuals with fine or frizz-prone hair, as their hair cuticles are more susceptible to lifting.
12. Apply Post Blow Dry Anti-Frizz Products
Anti-frizz hair smoothing products are typically formulated with ingredients like silicone, natural oils, and keratin to form a protective barrier around the hair shaft. This barrier not only shields the hair from heat damage but also helps to lock in moisture, keeping the hair hydrated and less prone to frizz.
For example, I often recommend the Nexxus Ultralight Smooth Hair Serum, which claims to provide up to 98% humidity protection and maintain smooth hair for up to 72 hours after blow drying.

13. Adapt to Your Hair’s Unique Texture and Needs
Each hair type responds differently to heat and styling; recognizing these differences can be the key to avoiding frizzy outcomes.
For instance, fine hair is particularly susceptible to heat damage. It requires a gentle approach with a lower heat setting on the blow dryer. A diffuser attachment can also help distribute the heat more evenly, reducing the risk of frizz and breakage.
Thick or coarse hair can handle higher heat but needs more hydration. Applying a heat protectant serum or spray that locks in moisture is essential for such hair types. Besides protecting the hair from heat damage, it also helps to smooth the hair cuticles, leading to less frizz post-blow-drying.
Curly hair tends to be dryer and more prone to frizz. I recommend using a diffuser and a low-heat setting for curly-haired individuals. A diffuser helps to maintain the natural curl pattern while minimizing frizz. Applying a leave-in conditioner or curl-defining cream before blow-drying can provide extra moisture and definition.
14. Invest in a High-Quality Hair Dryer
A high-quality hair dryer is a worthwhile investment for those who regularly blow dry their hair. Cheaper dryers often have insufficient wattage, so drying your hair requires holding the dryer dangerously close to your scalp for long periods. The intense, concentrated heat can damage hair follicles over time, making dry, brittle hair prone to frizziness.
High-quality dryers with ceramic, tourmaline, or ionic technology help hair retain moisture and natural oils while avoiding heat damage. Their controlled airflow and safer heat allow you to efficiently dry your hair while holding the dryer further away.
The extended distance minimizes exposure to extreme temperatures that deteriorate hair quality. Quality dryers produce less frizz, so you ultimately spend less time struggling with flyaways and achieving your desired smooth style.
Speaking from extensive experience, investing a bit more in a salon-quality dryer that lasts for years is beneficial for your hair’s health.

15. Maintain and Clean Your Hair Dryer’s Air Vents
Taking care of your hair dryer should be part of your regular beauty routine, especially if you frequently blow dry. Over time, hair products, oils, and mineral deposits from water can build up in the air vents and heating elements. Clogged air vents block airflow, making your dryer less efficient and creating a burning smell and potential fire hazard.
Regularly cleaning the air filters removes these accumulations so your dryer runs safely. Inspecting it for any worn wiring also ensures you don’t get shocked mid-blow dry. It also prevents electric shorts, which are another fire risk. Never ignore warning signs – strange smells, overheating, odd noises – as that likely means an internal problem. Address it promptly.
Proper maintenance prolongs your dryer’s lifespan, so you achieve more years of fast, frizz-free blowouts.
How Long Should You Let Your Hair Dry Before Blow Drying It?
After washing, allow your hair to air-dry for 10-15 minutes before using a hair dryer. Your hair must be 70% to 80% dry.
Never blow dry soaking wet hair. When hair is wet, it absorbs water and expands, swelling the cuticles. Applying intense heat from a dryer suddenly causes the cuticles to contract rapidly. This rapid expansion and contracting can leave hair rough and prone to frizzing. Air drying allows the swollen cuticles to smooth out and helps prevent damage from sudden high heat.
10 – 15 minutes of natural air drying is sufficient to achieve 70% dry hair after washing. I often use a microfiber towel to absorb excess water, then let my hair air-dry for a while.
How to Tame Frizzy Hair After Blow Drying
There will be times when frizz after blow drying is inevitable due to intense heat from the dryer disrupting your hair’s cuticles.
To instantly fix frizzy hair after blow drying, try using the cool shot, patting your hair with a smooth towel, applying a hair serum, or dabbing a small amount of cold water onto your hair.
For more detailed advice, check out our article on this topic:
10 Quick Tricks to Tame Frizzy Hair After Blow Drying.About the Author
 Camelia Smith
Camelia Smith can color hair, perform keratin treatments, bleach hair, and even cut curly hair. She is our go-to person whenever we have hair treatments and styling questions.
She's also currently training as a freelance makeup artist and is passionate about helping others feel beautiful in their skin. When she's not writing or doing hair, she's usually spending time watching British period dramas.