How to Fix Frizzy Hair from Razor Cut – The Quick DUST & SEAL Method
Updated on
This post may contain affiliate links. As an Amazon Associate, we may earn from qualifying purchases.
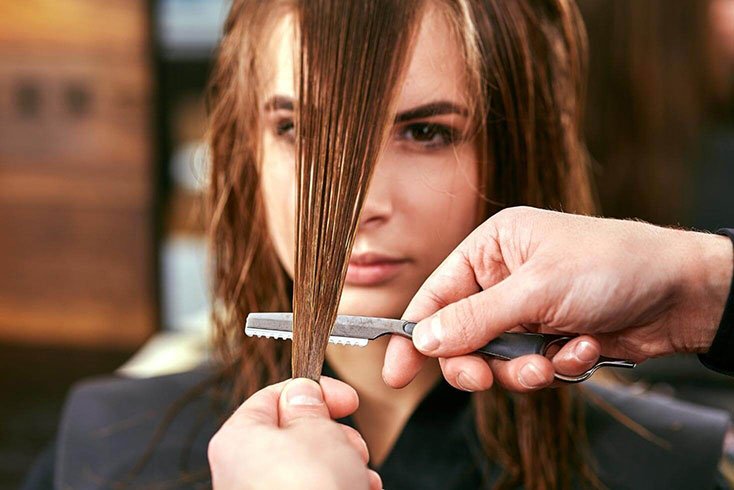
A razor cut can carve out beautifully light and swingy layers to create seamless transition effects within any cut.
When done correctly, this high-precision point-cutting technique works like a charm. But when NOT done correctly, your lengths can end up looking more straggly than polished. In other words, a frizzy mess.
If you find yourself in this unfortunate situation, don’t worry. I have a quick fix to help you out.
Let me show you how to fix frizzy hair from a razor cut right away with what I call the Dust and Seal Method.
Dust Your Split Ends Immediately
The first step is to get rid of the splinters.
Use a sharp pair of small scissors to snip them off. This will prevent the split ends from working their way up the hair shaft, reducing breakage and helping your hair to look tidier and less frizzy.
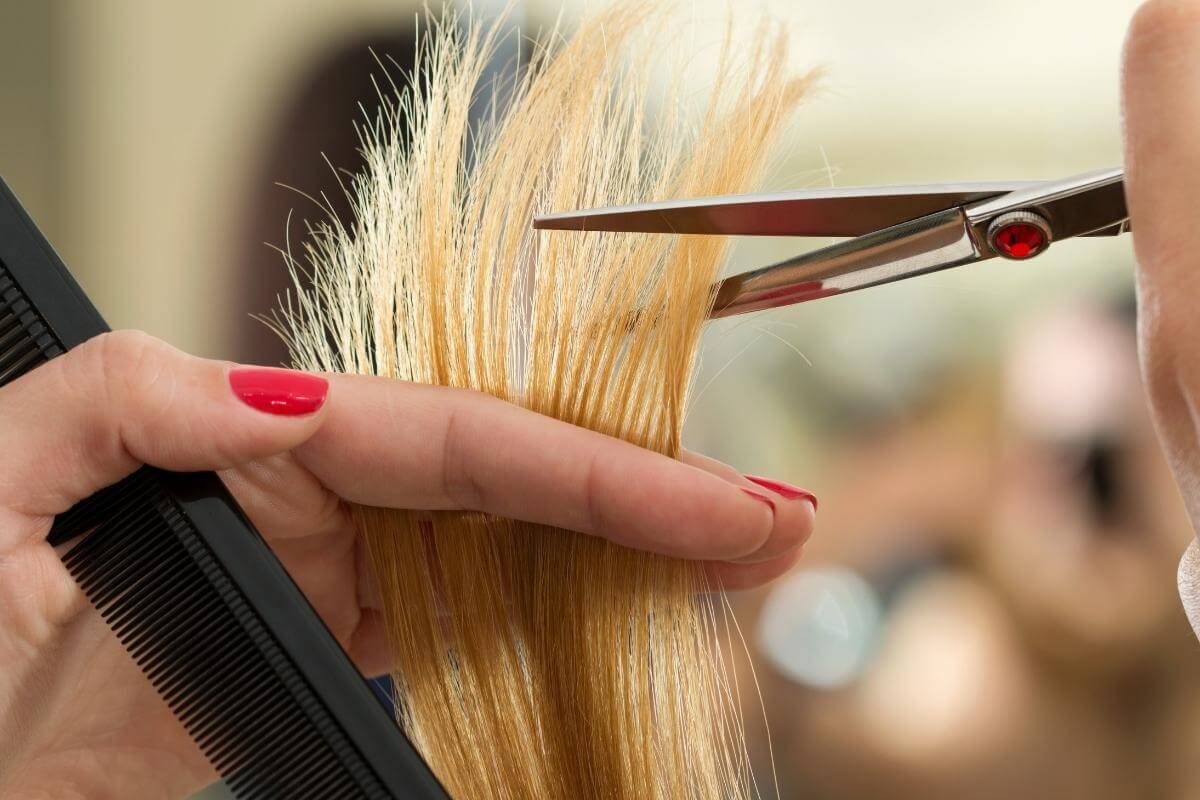
To trim your ends, ensure your hair is dry and start by dividing it into small sections. Take a small amount of hair from the ends, hold it between your fingers and comb it through as you twist your ends. This will expose the frizzy split ends.
Carefully trim off the frayed ends by working slowly and being cautious not to cut too much off. Repeat this process until you prune off all the split ends.
This technique is also known as hair dusting. You’re only removing split ends without losing any length.
If you don’t feel comfortable trimming your own hair, you can always visit a hairstylist to get it done professionally. He/she will assess its condition and trim off any damaged ends, leaving you with healthy-looking locks.
After getting rid of the frizzy ends from the razor cut, it’s time to baby those ends.
Below are a few anti-frizz products I recommend. You don’t have to get all of them. Just pick one that you feel will work best for you.
Use The Paul Mitchell Construction Paste
After dusting your split ends, the next step is to seal them.
Use the Paul Mitchell Construction Paste for a crunch-free finish with no flaking. I’d like to give a big shout-out to Sophia Knightly for recommending this on her Youtube video here: How I Fixed a Disastrous Razor Haircut.
This thick and creamy paste does an excellent job at sealing the frizzed-out ends.
To use the paste, start with clean, damp hair. Take a small amount of paste and rub it between your hands. Then, apply it to your hair, carefully working it on the split ends (Do not apply the paste to your roots as it’s too heavy and will leave your hair looking greasy). You can use more or less of the product depending on how much control you need.
Once you’ve applied the paste, use a wide-toothed comb to evenly distribute the product, and style your hair as usual. The consistency of the paste makes it easy to work with and sculpt into any style, giving you the sleek, polished look you desire.
It provides a firm hold without being too stiff and has a natural matte finish. Additionally, the paste is infused with conditioners and vitamins that help to revitalize and nourish your hair.
John Frieda's Frizz Ease Secret Weapon Touch-Up Crème
Another good product to combat frizzy ends is John Frieda’s Frizz Ease Touch-Up Crème. It smoothes and protects the hair cuticle while keeping moisture at an optimal level. The product also adds shine and protects your hair from heat damage. Simply apply a small amount to damp or dry hair and style as usual.
You can use it on its own or layered with other styling products. It’s color-safe and can be used to tame all types of frizz.
Nourish With Reverie's Milk Anti-Frizz Leave-In
If you’re looking for a softer, lighter product, the MILK Anti Frizz Leave In Nourishing Treatment is an excellent choice. It works to tame flyaways, leaving your hair looking sleek, soft, and healthy. It also has an oil-cream formula that makes it versatile enough for curly and tightly-coiled hair.
Plus, it’s packed with nourishing ingredients like amino acids, pracaxi seed oil, and sweet almond protein. The pracaxi seed oil brightens your hair, adds shine, and increases softness, while the amino acids fortify the hair to prevent further breakage. The sweet almond protein will moisturize your hair while providing thermal protection.
To use it, apply a small amount to damp or dry hair, paying particular attention to the ends. Then, style as usual. You can use it on both wet and dry hair, so it’s perfect for when you don’t have time to shampoo and second-day hair.
Eufora's Leave-In Repair Beautifying Serum
Beauty doesn’t have to be complicated- sometimes, the simplest products can make the biggest difference.
Case in point: The Eufora’s Beautifying Serum.
This leave-in repair treatment is packed with nutrients that nourish and revitalize dry, damaged hair.
According to an industry expert, hairstylist, and Eufora National Trainer, Dana Hodges Caschetta, Eufora’s leave-in beautifying serum, is the best product to tackle shredded and frizzy ends.
“If a client is experiencing razor cut damage, I would recommend Eufora’s leave-in repair treatment, Beautifying Serum. This has extensive repairing properties and antioxidants, but mostly has the brilliant technology of 18-MEA to seal and lubricate the cuticle again, smoothing down fuzz and shredded ends!” Dana Hodges Caschetta
Hairstylist - Bustle
Formulated with kukui, neem, argan, cranberry oil, minerals, and vitamins, the beautifying serum helps to reconstruct hair follicles and prevent split ends. It also provides thermal protection from heat styling tools, making it an ideal product for anyone who wants to achieve healthy, glossy hair.
Best of all, the beautifying serum can be used on all hair types- so whether you have fine or thick hair, this product can help you achieve your desired look. Give your hair the gift of nourishment with Eufora’s beautifying serum.
Why Does Hair Get Frizzy From a Razor Cut?
Although razoring can give off the vibe of a dramatic new hairstyle with delicately constructed layers, the downside of not doing it right can ruff up the cuticles. Especially if the razor’s blade is not sharp enough or the hair is cut at the wrong angle.
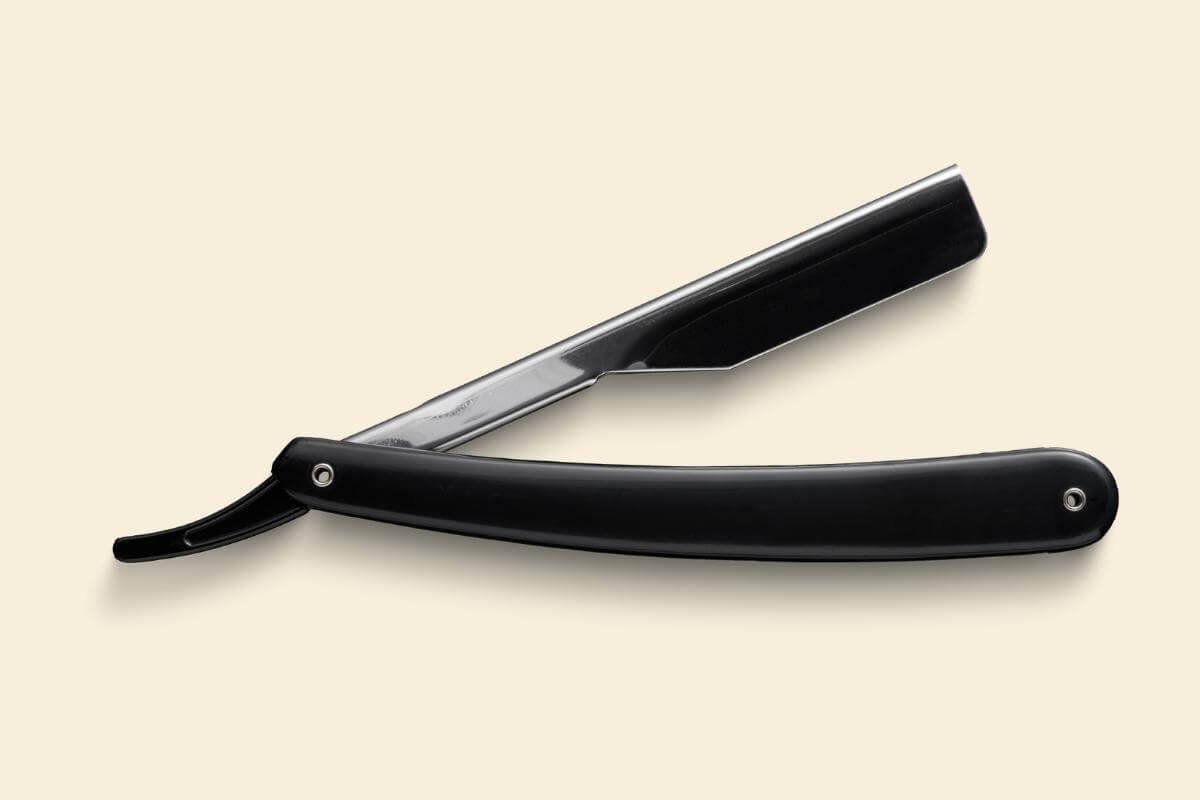
Let me explain why razor cutting can sometimes lead to frizzy hair.
Dull Old Blade
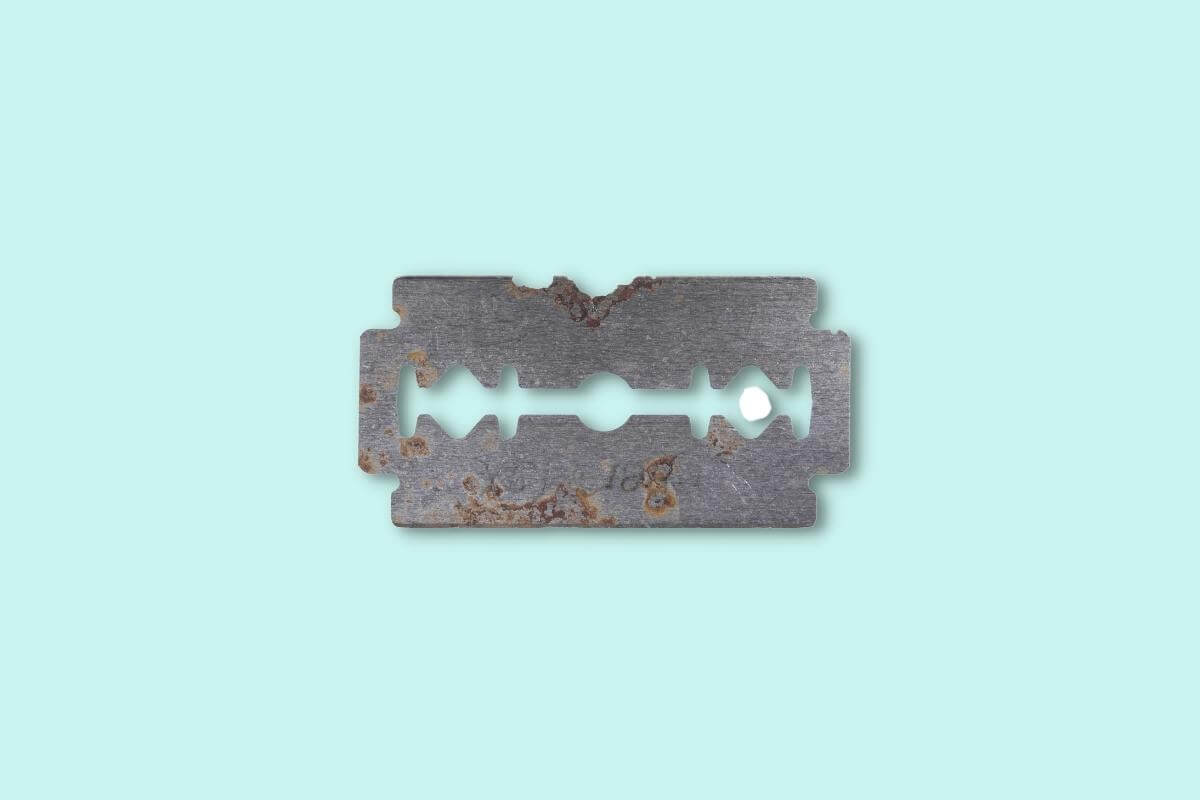
A new blade makes a super sharp cutting edge. A dull old blade will pull and fray the hair out, creating a mess of different textures with rough and lopsided layers.
“A new blade equals a supersharp cutting edge that slides easily through the hair without any friction or pulling.” Paul Labrecque
Hairstylist - Allure
But that’s not all — a dull blade can also expose the hair cuticle. As the cuticle acts as a protective layer, its removal can more likely damage the hair.
Jacob Khan, the co-founder of Fancy Hairdressers also adds … “If you look at the ends and see a white ball, that’s an exposed cuticle.”
Improper Cutting Technique
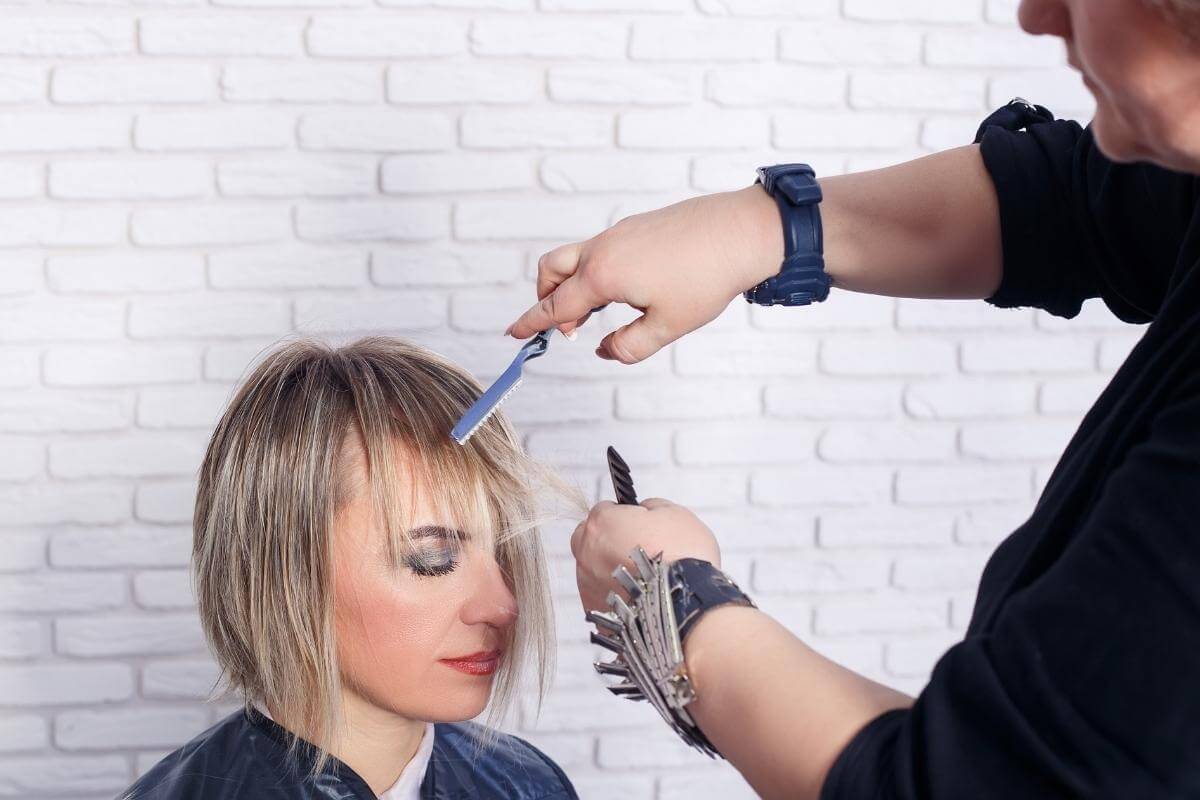
It takes expertise and confidence to perform a neat and frizz-free razor haircut. If you don’t hold the razor properly or apply too much pressure, you’ll end up with a ragged and uneven cut that can quickly develop into frizz on the ends.
According to SamVilla’s razor hair cut tutorial, working the razor too flat to the hair makes the ends thin and weak. It also makes the hair difficult to release.
On the other hand, working at a 45 degrees angle allows for clean and easy strokes for a sharper blunt cut.
If you’ve had your hair razored at a flat angle, it’s probably the reason why your ends are thin, wispy, and straggly.
Dry Cutting
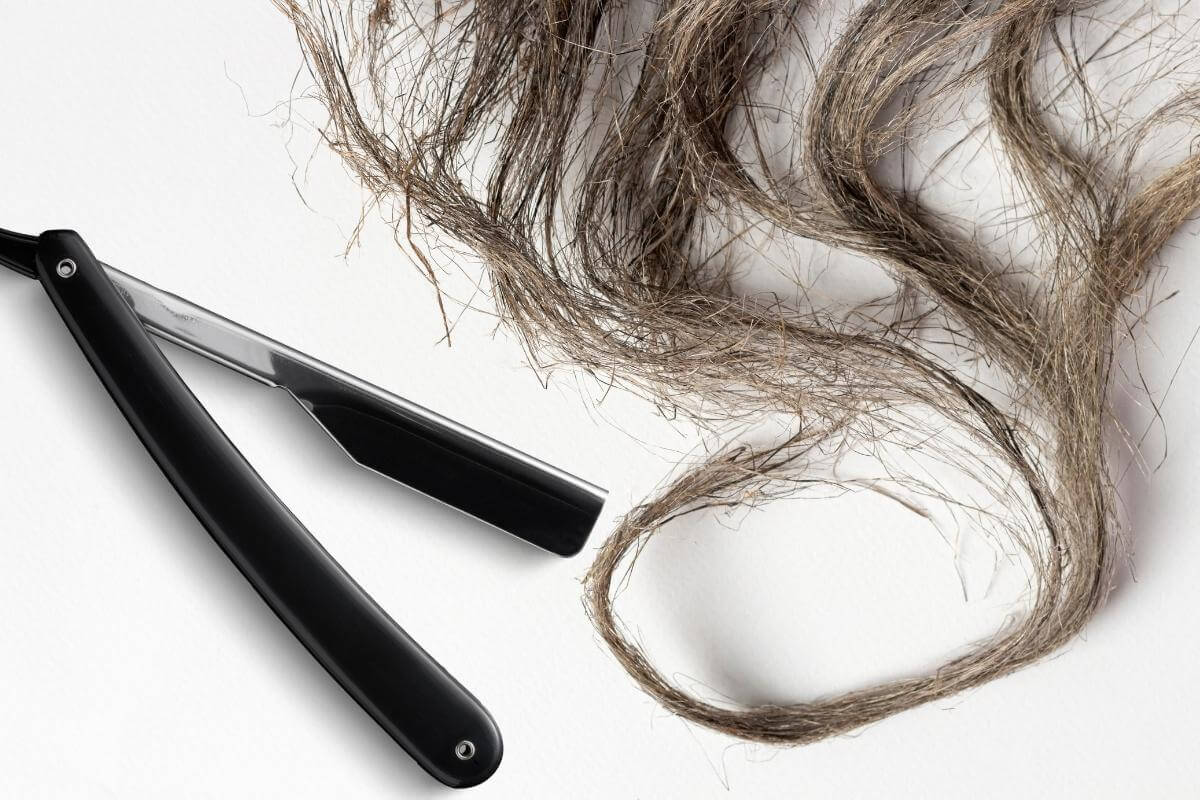
Never do a razor cut on dry hair.
You can tell if your hairdresser is experienced in razor cuts by whether he/she wets your hair before cutting it. Wetting the hair prevents frizz and flyaways from the get-go. It makes the hair lie flatter and smoother because water weighs down and stretches the hair to reveal its true length. Of course, the hair should not be soaking wet, but ask your hairdresser to spray it with water beforehand. Damp hair is also easier to style after cutting, as moisture holds on to hair products better.
So if your hairstylist is about to cut your hair while it’s completely dry, say NO.
Shin An, the owner of Shin hair salon in Santa Monica, also suggests that razor cutting should be done when the hair is still wet.
Your Hair is Curly

According to Matty Conrad, aka “The World’s Most Interesting Barber”, razor cutting disrupts the natural curl pattern, creating a frizzy end result.
Since razor cutting reduces weight and adds more curl, the curls end up wiring out into nothing. Curly hair needs weight at the end to look more defined. A razor cut will create short ledges and often too many short layers causing thin ends and a messed-up frizzy curl pattern.
If you want to razor your curls, you need to find a “curl connoisseur”, a good hairdresser who understands how to cut curly hair.
Your Hair Is Already Damaged and Frizzy
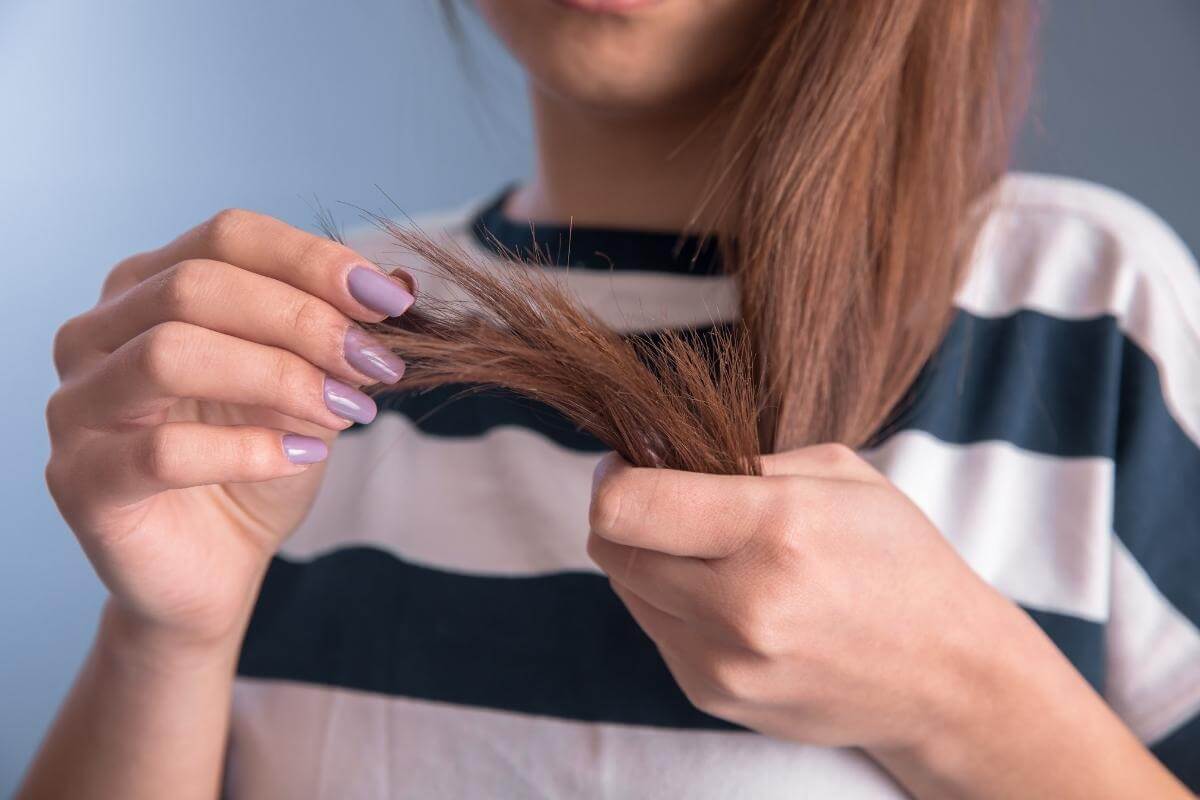
If you already have damaged and frizzy hair, a razor cut will only exacerbate the problem. That’s because a damaged hair cuticle has tiny jagged edges that prevent the razor from executing a sharp, clean cut.
Ideally, your hairdresser should assess your hair’s condition first to decide whether to go ahead or not.
You’re Working on Big Sections
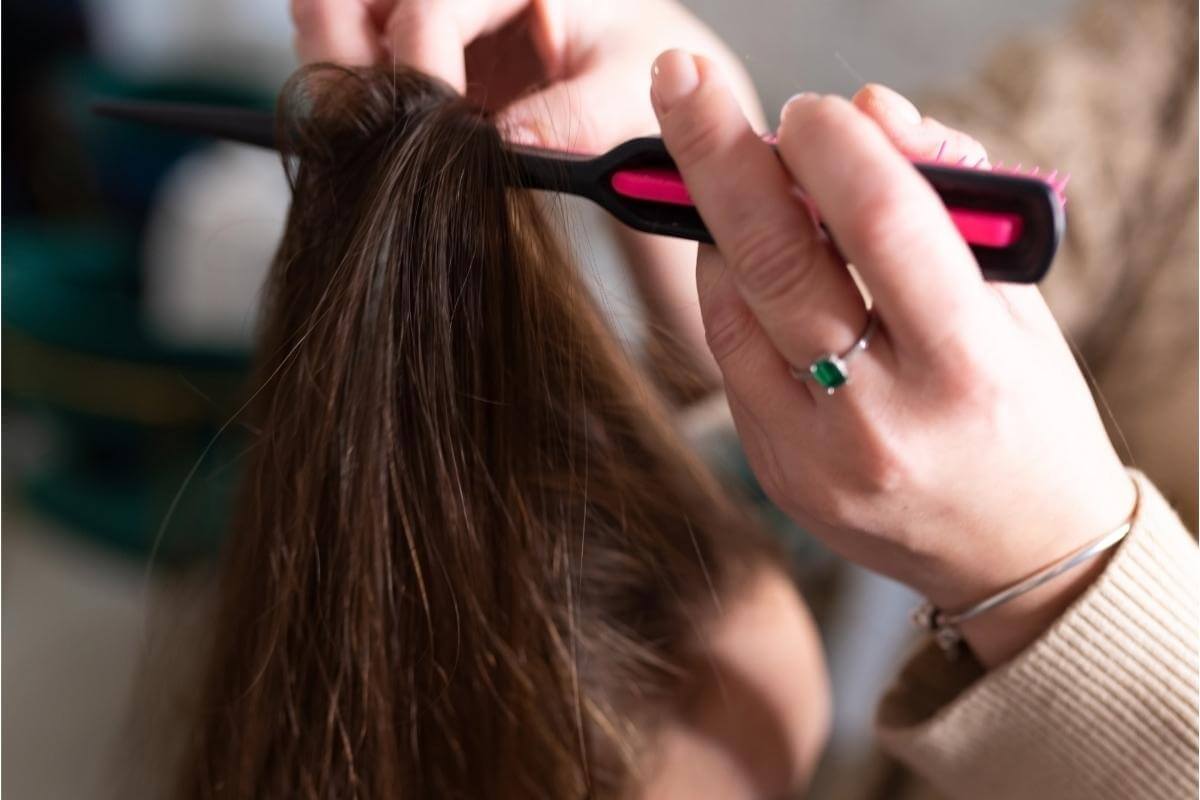
Work in smaller sections. Larger and thicker sections are harder to manage as you cannot see through the layers. You may end up slicing too much, or splicing adjacent ends at the wrong angle.
Your Hair is Not Thick Enough
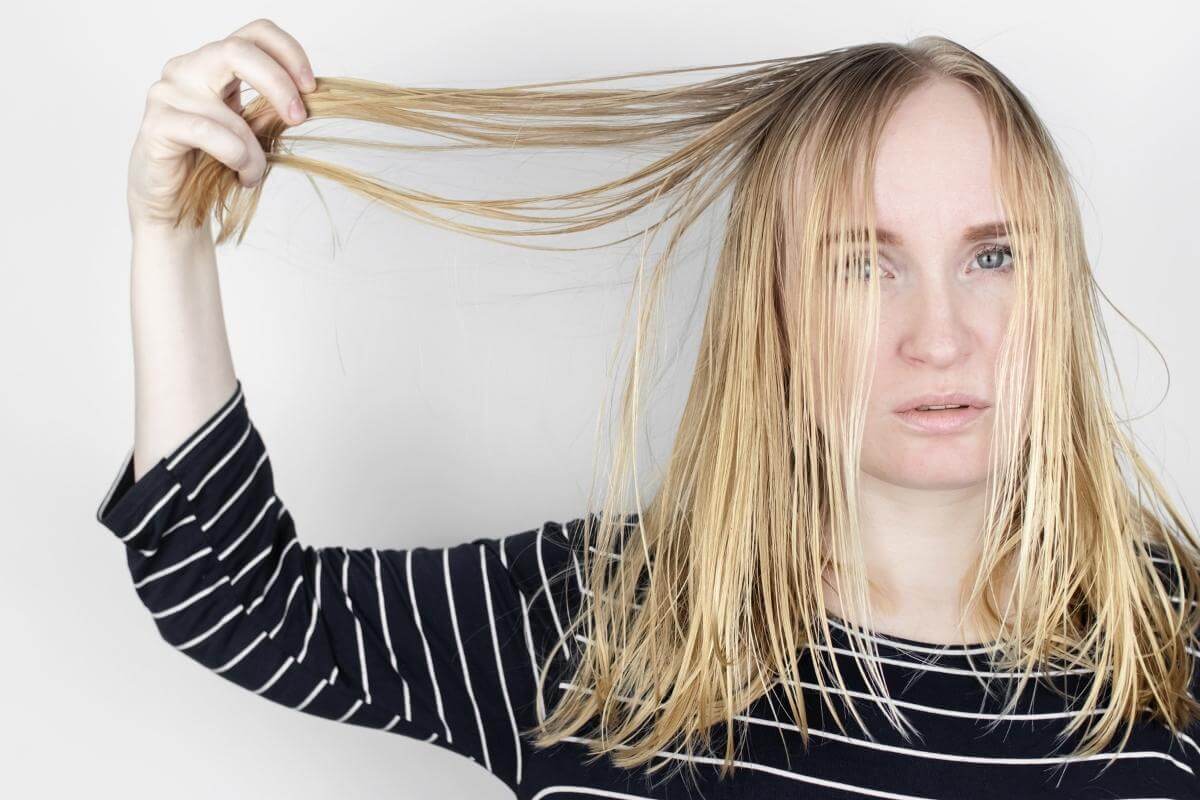
Razor cutting works better on thick hair.
That’s because when razoring, you are effectively thinning the hair out, shedding extra layers. When you have thick hair, it reduces the bulk and makes your hair light and bouncy.
But when you have fine and thin hair, the reduction of weight can suddenly make your hair droopy and flat.
“I think girls with thinner hair are best sticking to traditional scissor-cut layers. This is because you need to be more careful with the distribution of weight in thinner hair types. Razor cutting fine hair can make it look droopy and flat, so you’re better to opt for long layers to give weight and movement to the hair in this instance.” Jason Collier
Award-winning hairstylist and colorist - Refinery29
How to Prevent Frizzy Hair From Razor Cuts
Never Do It Yourself!
You can only see the front and sides of your hair in front of the mirror. Sure, you can have a back mirror to help you out, but it’s still awkward to work with your hair. Plus, you won’t be able to handle the razor at the correct angles if you’re working on your own hair.
A hairdresser sees the whole 360 of your hair. Plus, he/she can work the angles better.
So please stay away from online BS and TikTok videos that try to show you how to razor cut your own hair.
Make Sure Your Hairdresser is Using a New and Sharp Blade
I am 200% sure all hairdressers use new blades anyway. But it doesn’t hurt to double-check.
Make Sure Your Hair Is In Good Condition Beforehand
Razor cutting works best on hair that is healthy and free of split ends. Otherwise, the blades can snag on the damaged hair and create uneven cuts. In order to get the best results, visit a professional hairdresser who can assess the condition of your hair and recommend a razor cut if it is appropriate for your hair type. With the right preparation, you can enjoy beautiful, well-cut hair that will turn heads.
Caring for Your Hair After A Razor Cut
Keep your Ends Moisturized
Dry ends are the main culprit for never-ending tangles, splits, breakage, and frizz. To prevent them from taking over, use moisture-sealing styling products like anti-frizz serums.
These products have the double benefit of moisturizing the dry ends and also wrapping them with a silicone layer that prevents them from living freely as flyaways and frizzy ends. Plus, they make your layers look tidy too!
Use a Microfiber Towel
Cotton towels have a coarse texture – therefore, they are more likely to cause friction. If you’ve been using a cotton towel to dry your hair, you’re probably contributing to the frizz problem further by pulling and snagging at the fragile hair ends.
Opt for a microfiber towel. The material has an ultrafine surface that doesn’t rub but instead glides over the hair. It also absorbs water faster than cotton, which makes it more practical. Just wrap it over your head and leave it on for like 5 minutes. No need to rub. Then unravel it, wring out your hair, and proceed with styling as usual.
Adjust Your Blow-Dry Technique
I am pretty sure you know how to use the ol’ blow dryer, so I am gonna cut to the chase.
When you blow dry, make sure you finish off with the cool shot on the frizzy ends. Cool air helps to seal the cuticle layer. It keeps the ends compact.
Related: How to blow dry hair without making it frizzy.
Limit the Use of Heat Styling Tools
There’s no denying that heat styling tools are very effective in allowing one to create their desired hairstyle more easily and effectively. Be it a curling iron, hot roller, blow dryer, flat iron, or crimping iron, there are a variety of heat styling tools that make the job much easier.
However, they can damage your hair significantly if you use them too often, as they dry out the hair. And if too much of the hair’s natural moisture is stripped away, frizz happens more easily. So if your frizz is really bad, think about getting rid of your heated tools and opt for heat-free styling options for frizzy hair.
Trim Your Ends Regularly
You’ve probably heard this 101 times before, but we’re repeating it because it’s important. By keeping your hair trimmed every 6 to 8 weeks, you’re getting rid of the splinters, which are one of the biggest culprits for frizzy hair.
Summary
Razor cutting can be a double-edged blade.
It can create beautiful soft-shaped layers but at the same time carries the risk of creating frizz at the ends.
The quick fix is to DUST those frizzy ends immediately and apply a good anti-frizz product to SEAL the tips so that they stay in shape and do not continue to fray and frizz out.
About the Author
 Charlene Latreuille
Charlene Latreuille has been blogging for over 10 years and has a background in digital marketing.
Specializing in women's hair health, she blends scientific insight with practical advice, crafting easy-to-follow guides.


